


Funtory SDK (Plankton)
Implementation Guide
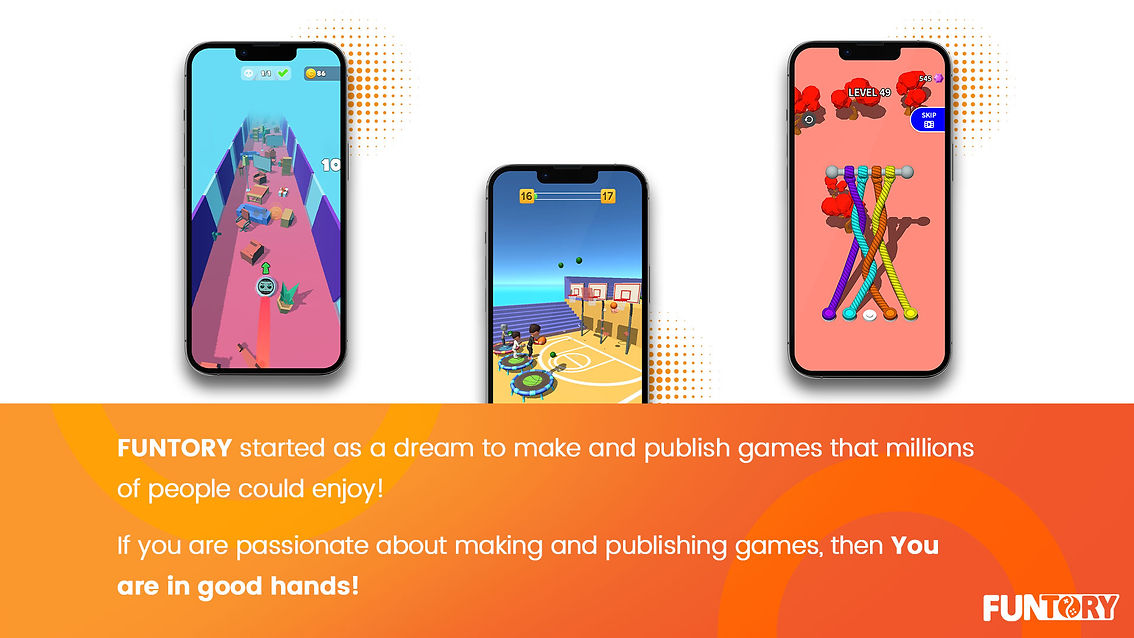
1- Introduction
Plankton is an Android SDK developed by Funtory which helps Unity developers to address android requirements of the game.
With plankton you can easily take care of the game’s monetization by showing ads or selling in-app products. You can also achieve useful data about the interaction of your users with the game to further analyze these data to improve your game from different aspects.
Plankton also provides other features that you can read about them further in this doc and benefit from them if you want.
2- Getting started
To get started first you have to extract the zip file we provided to your team. It contains a Plugins folder, a unitypackage and a sample unity project.
Follow these steps to successfully integrate plankton into your game:
-
In your unity project go to Assets > Import Package > Custom Package
-
Select funtory.plankton.unitypackage and click open.
-
Copy Plugins folder and paste it to your unity project under the Assets folder. So the final hierarchy of the folders will be:
Assets/Plugins/Android/<several files>
You can take a look at the Unity sample project and see the usage of methods.
In the next sections you will learn how to implement different parts of the Sdk.
3- Ads
Plankton supports three of the most popular ad types:
3.1. Banner Ads
You can show a banner ad at the bottom of your game and hide it if you ever wanted to. It's better to show the banner once at the beginning of the game. You don’t need to take care of the logic for serving new ads because it gets refreshed automatically.
To show banner:
Ad.Banner = true;
To hide banner:
Ad.Banner = false;
3.2. Interstitial Ads
At the game startup, Plankton starts to load interstitial ads so you don’t have to take care of the loading logic.
Before showing an interstitial ad, first create an Ad.Place object and pass the ad type and placement to it.
var adPlace = new Ad.Place(Ad.Type.Interstitial, "placement_name");
Now to show the ad, call Ad.ShowInterstitial() which takes two arguments; a Place object and a callback which will get invoked after the ad gets closed.
Ad.ShowInterstitial(adPlace, OnInterstitialAdClosed);
private void OnInterstitialAdClosed()
{
print("Interstitial Ad closed.");
}
You can also check if the interstitial ad is loaded or not.
bool isInterstitialLoaded = Ad.IsLoaded(Ad.Type.Interstitial);
3.3. Rewarded Ads
At the game startup, Plankton starts to load rewarded ads so you don’t have to take care of the loading logic.
Before showing a rewarded ad, first create an Ad.Place object and pass the ad type and placement to it.
var adPlace = new Ad.Place(Ad.Type.Rewarded, "placement_name");
Now to show the ad, call Ad.ShowRewarded() which takes two arguments; a Place object and a callback which will get invoked after the ad gets closed. The callback gets a boolean as input which indicates whether the reward was earned or not.
Ad.ShowRewarded(adPlace, OnRewardedAdClosed);
private void OnRewardedAdClosed(bool success)
{
if (success)
{
print("Rewarded Ad shown and reward earned.");
}
else
{
print("Rewarded Ad hasn't shown or ad got canceled.");
}
}
You can also check if the rewarded ad is loaded or not.
bool isRewardedLoaded = Ad.IsLoaded(Ad.Type.Rewarded);
4- Analytics
With analytics features you can gather data from your users about their device properties, playing behavior, geographic information, etc.
With plankton you can log two primary types of information:
-
Events: What is happening in your app, such as user actions, system events, or errors.
-
User properties: Attributes you define to describe segments of your user base, such as language preference or geographic location.
4.1. User Properties
You can set multiple key-value properties for a user. Usually you should set these properties once per session.
To set a user property you should call the Analytics.SetUserProperty() method which takes a key and a value as input.
Analytics.SetUserProperty("app_type", "standard"); // or instant, ...
Analytics.SetUserProperty("store", "google"); // or galaxy, huawei, ...
// ... and other properties
4.2.Events
Events provide insight on what is happening in your app. Each event has a name and a set of key-value parameters.
There are a number of parameters that take place in all of the events and provide general information about the game. These are called default parameters and you can register them once at the beginning of the session instead of sending them along each event.
Analytics.OnDefaulParams is an event that gets called when an analytics event is going to be sent. You should register to it at the beginning of the game and unregister it at the end.
private void OnEnable()
{
Analytics.OnDefaulParams += OnDefaultParams;
}
private void OnDisable()
{
Analytics.OnDefaulParams -= OnDefaultParams;
}
private object[] OnDefaultParams()
{
return new object[]
{
"key_4", "value_4",
"key_5", 5,
"key_6", 6.66f,
};
}
There are two predefined events for earning and spending game currencies like coins, money, etc. Call them every time a user earns a currency by an item or when they spend a currency to buy an item.
Analytics.Resources.Earn(item:"daily_reward", currency:"gem", value:5);
Analytics.Resources.Spend(item:"new_skin", currency:"coin", value:200);
You can also define your own events and send them during the game. Each event can have multiple key-value parameters that should be provided as a list. Starting from 0, even indices represent keys and odd indices represent values. To get a better understanding of the parameters, check below sample:
var parameters = new object[]
{
"key_1", "value_1",
"key_2", "value_2",
"key_3", "value_3"
};
Now call Analytics.Design.NewEvent() and pass the event name and parameters you just defined. You can also decide to append default parameters by altering the appendDefaults parameter.
Analytics.Design.NewEvent(Analytics.Provider.Default, eventName: "event_name", appendDefaults: true, args: parameters);
5- Remote Config
Firebase Remote Config is a cloud service that lets you change the behavior and appearance of your app without requiring users to download an app update. When using Remote Config, you create in-app default values that control the behavior and appearance of your app. Then, you can later use the Firebase console or the Remote Config backend APIs to override in-app default values for all app users or for segments of your user base.
To get a Remote Config value, call Analytics.RemoteConfig.Get() which two arguments:
-
key: The key for the value you want to retrieve
-
defaultValue: In case no such key exists in the Remote Config or something goes wrong, this value is returned instead. It can be of types string, float and int.
var key = "level_difficulty";
var defaultValue = "medium";
if (Analytics.RemoteConfig.Status == Analytics.RemoteConfig.State.Received)
{
var value = Analytics.RemoteConfig.Get(key, defaultValue);
print($"Remote config for key {key} is {value}");
}
else
{
print("Remote config is not received yet");
}
6- Billing
With the help of Plankton you can sell digital products and content in your game. There are two types of in-app products:
-
Consumable product: A consumable product is one that a user consumes to receive in-game content. When a user consumes your product, you dispense the associated benefits or effects in a process known as provisioning. For example, a user might purchase an in-game currency product such as a stack of coins. When the user consumes the product, your app then dispenses a fixed number of coins to the user, and the purchased stack of coins product is no longer available. Consumable products can be purchased multiple times.
-
Non-consumable product: a product that is purchased once and provides a permanent benefit. Once purchased, these products are permanently associated with the user's Google account. Examples of non-consumable products include premium upgrades and level packs.
To define an in-app product, it should be created in the google play console with a unique name called product SKU. With Plankton you can retrieve details of your product SKUs such as their formatted price.
6.1. Getting SKU Details
For getting details of your SKUs, call Billing.GetSkuDetails() which takes two arguments:
-
callback: A method which gets invoked when the result is ready. It has two arguments:
-
success: A boolean which indicates if getting details was successful.
-
details: A list of Billing.Detail objects. It has two fields named sku and price
-
-
skus: List of SKUs that you want their details
var skuNames = new[] {"sku_1", "sku_2", "sku_3"};
Billing.GetSkuDetails(callback: OnSkuDetailsResult, skus: skuNames);
private void OnSkuDetailsResult(bool success, List<Billing.Detail> details)
{
if (success)
{
print("Sku details retrieved successfully");
foreach (var detail in details)
{
print($"sku info: {detail.sku}, {detail.price}");
}
}
else
{
print("Failed to retrieve sku details");
}
}
The Billing.Detail object contains a price field which indicates the price of the product with the correct currency based on the user region.
6.2. Making Purchase
To make a purchase call Billing.Purchase() method which takes two arguments:
-
sku: The SKU of the product which you want to purchase
-
callback: A method which gets invoked when the purchase result is ready. It has two arguments:
-
status: An enum which indicates the purchase status either (Purchased, Acked, Pending, Failed)
-
purchaseToken: A string that represents a buyer's entitlement to a product on Google Play. It is later used to consume or acknowledge the purchase. If the purchase was not successful, the token will be empty.
-
Note: After a successful purchase, you have to verify the purchase and give the content to the player. For consumable products call
Billing.Consume(purchaseToken) and for non-consumable products call Billing.Acknowledge(purchaseToken).
An example of a non-consumable purchase:
Billing.Purchase("no_ad_item", OnPurchaseResult);
private void OnPurchaseResult(Billing.Status.PurchaseStatus status, string purchaseToken)
{
if (status == Billing.Status.PurchaseStatus.Purchased)
{
print($"Purchased successfully with token: {token}");
Billing.Acknowledge(token);
}
else
{
print("Purchase status: " + status);
}
}
An example of a consumable purchase:
Billing.Purchase("gem_pack", OnPurchaseResult);
private void OnPurchaseResult(Billing.Status.PurchaseStatus status, string purchaseToken)
{
if (status == Billing.Status.PurchaseStatus.Purchased)
{
print($"Purchased successfully with token: {token}");
Billing.Consume(token);
}
else if (status == Billing.Status.PurchaseStatus.Acked)
{
print($"Purchased acknowledged: {token}");
}
else if (status == Billing.Status.PurchaseStatus.Pending)
{
print($"Purchased pending: {token}");
}
else
{
print("Purchase failure. status: " + status);
}
}
6.3. Getting Purchases
When a user reinstalls the game or installs it on a different device, you should allow them to restore their purchase. You can get the history of purchases by calling Billing.GetPurchases() method which takes a callback that gets invoked when the history result is ready. The callback has two arguments:
-
success: A boolean which indicates if getting history was successful
-
purchaseHistory: A list of Billing.History objects. It has three fields named sku, status, and token
Billing.GetPurchaseHistory(OnPurchaseHistoryResult);
private void OnPurchasesResult(bool success, List<Billing.History> purchaseItems)
{
if (success)
{
print("Purchase history retrieved successfully");
foreach (var item in purchaseItems)
{
print($"Sku {item .sku} was purchased. {item .token} with status: {item.status}");
}
}
else
{
print("Failed to get purchases.");
}
}
You should design a restore button so that when the player clicks on it, you give them all the items they’ve bought earlier.
7- PlayServices
You can allow players to sign-in with their google account so they can save their game profile and progress and load it later if they reinstalled the game or installed it on a different device.
Note: If you want to use PlayServices in your game, follow these steps:
-
Go to Edit > Project Settings > Player. Then in the Other Settings panel, scroll down to Script Compilation.
-
Under the Scripting define symbols, click + to add a new symbol.
-
Type PLAY_SERVICES in the text box and click apply.
-
Wait for Unity to recompile the scripts in your project.
7.1. Sign-In
To sign-in to google account call PlayServices.SignIn() method which takes a callback that gets invoked when the sign-in result is ready.
PlayServices.SignIn(OnSignInResult);
private void OnSignInResult(bool success)
{
if (success)
{
print("Signed In to Play Services successfully.");
}
else
{
print("Failed to sign in");
}
}
7.2. Save
You can save a string value in google play services. It can be a serialized form of player profile that you know how to deserialize. For example it can be in the json format or any other format you prefer.
To save data, call the PlayServices.Save() method which takes the data and a callback that gets invoked when the saving result is ready.
string data = "Data to save.";
PlayServices.Save(data, OnSaveResult);
private void OnSaveResult(bool success)
{
if (success)
{
print("Data saved successfully.");
}
else
{
print("Failed to save data.");
}
}
7.3. Load
For loading the data that you saved earlier, call PlayServices.Load() method which takes a callback that gets invoked when the loading result is ready.
PlayServices.Load(OnLoadResult);
private void OnLoadResult(string result)
{
if (result != string.Empty)
{
print($"Data loaded successfully: {result}");
}
else
{
print("Failed to load data.");
}
}
8- Rate Us PopUp
With Plankton you can display google play’s in-app review popup and easily let players rate your game.
For showing in-app review popup, call Utils.ShowRateus() method which takes a callback that gets invoked when the rating result is ready.
Utils.ShowRateus(OnRateUsResult);
private void OnRateUsResult(bool shown)
{
if (shown)
{
print("Rate us popup shown successfully.");
}
else
{
print("Failed to show Rate us pop up.");
}
}


Let’s Work Together
Get in touch so we can start working together.